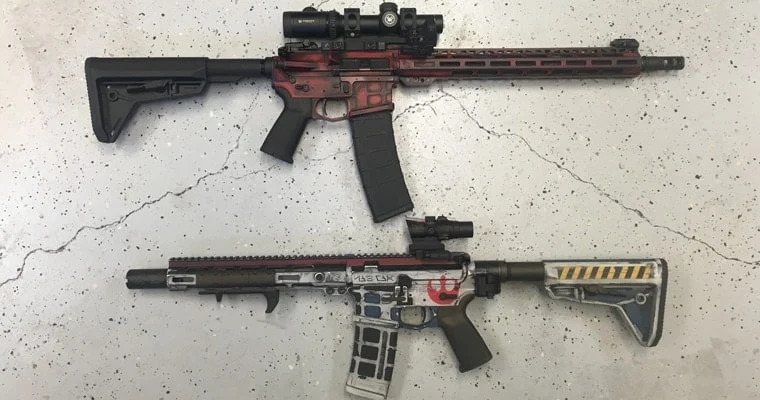
How to Build a Rifle from a Ghost Gun Kit
To build a rifle from a ghost gun kit can be a rewarding experience for enthusiasts who enjoy hands-on projects. However, it requires precise attention to detail and adherence to safety guidelines to ensure a successful and safe build.
Parts and Components Required
Before starting, make sure you have all the necessary parts and components:
- Ghost Guns Kit (including upper and lower receivers, barrel, handguard, stock, and trigger assembly)
- Accessories (such as optics, slings, and additional magazines)
Tools Necessary for Assembly
To assemble your rifle correctly, you’ll need the following tools:
- Allen Wrench Set for adjusting and securing various parts.
- Torque Wrench for precise tightening of screws to manufacturer specifications.
- Punch Set for installing pins and detents.
- Armorer’s Wrench for buffer tube and barrel nut installation.
- Vice Block for securing the upper and lower receivers during assembly.
- Cleaning Kit for ensuring the rifle is properly cleaned and maintained during assembly.
Safety Precautions
Adhering to safety precautions is crucial during the assembly process:
- Always handle firearms as if they are loaded.
- Ensure the assembly area is well-lit and ventilated.
- Wear safety glasses to protect your eyes from flying debris or solvent splashes.
- Keep your work area clean and organized to prevent loss of small parts.
- Double-check all components and tools before beginning assembly.
- Do not use excessive force when assembling components.
- Keep all firearms and building materials away from children and unauthorized individuals.
- Familiarize yourself with the specific firearm’s manual and instructions.
- Ensure the firearm is not loaded before and during assembly.
- Only test fire in a safe, legal, and approved location.
- Follow all local, state, and federal laws regarding firearm assembly and usage.
Step-by-Step Assembly Guide
1. Prepare Your Workspace
Set up a clean, well-lit, and organized workspace. Lay out all components and tools so they are easily accessible.
2. Assemble the Lower Receiver
- Start with the lower receiver, installing the trigger assembly according to the manufacturer’s instructions.
- Use the punch set to install pins and detents securely and correctly.
- Attach the buffer tube and stock using the armorer’s wrench.
3. Assemble the Upper Receiver
- Secure the barrel to the upper receiver with the barrel nut, tightening it to the specified torque using the torque wrench.
- Attach the handguard, ensuring it is properly aligned and secured.
- Install any additional accessories like optics or sights.
4. Join the Upper and Lower Receivers
- Align the upper and lower receivers and secure them together with the provided pins.
- Make sure all parts are firmly in place and there is no excessive movement between components.
5. Perform a Function Check
- Ensure the rifle is not loaded.
- Perform a function check to ensure that the trigger, safety, and other mechanisms are working correctly.
6. Clean and Inspect the Rifle
- Use the cleaning kit to clean the rifle, removing any debris or residue from the assembly process.
- Inspect the rifle thoroughly to ensure all parts are securely installed and functioning properly.
7. Test Fire
- Only test fire the rifle in a safe, legal, and approved location.
- Observe proper firearm safety rules at all times during testing.
Conclusion
Building a rifle from a ghost gun kit can be an exciting project that results in a personalized firearm tailored to your preferences. By following this guide and adhering to safety precautions, you can ensure a successful and safe build. If you have any doubts or questions during the process, consult with a professional or refer to the firearm’s manual for specific instructions. Happy building!


Leave a Reply